12 DIY Bathroom Wall Art Ideas on a Budget: From Dollar Store to Designer Look
Your bathroom should feel like a personal retreat, not just a practical stop in your daily routine. Yet many people hesitate to add style because they assume beautiful bathroom wall art ideas cost a fortune. The good news is you can achieve a high-end designer look for just a few dollars using simple materials from the dollar store, thrift shops, or items you already have at home. With a little creativity and basic supplies, ordinary walls transform into eye-catching features that make even the smallest powder room or spacious master bath feel polished and intentional.
These twelve DIY bathroom wall art ideas focus on moisture-resistant techniques that stand up to steam and splashes while keeping costs under twenty dollars per piece. Whether you are working with a tiny apartment bathroom or a generous family space, each project scales easily and uses everyday techniques that anyone can master. The result is custom wall art that looks like it came from a boutique without the boutique price tag.
DIY Pressed Flower and Herb Art for a Fresh and Natural Look

Gather fresh leaves or flowers from your yard or a neighbor’s garden, press them between heavy books for a week, then arrange them on plain white cardstock. Slip the dried pieces into dollar-store frames with glass fronts and seal the edges with clear craft glue. The soft greens and delicate shapes bring an organic spa feeling that instantly calms the room. Hang a tall vertical arrangement above the toilet in a compact bathroom to draw the eye upward and create the illusion of height. In a larger space, three matching frames in a staggered row beside the shower add gentle rhythm. The finished look mimics expensive botanical prints but costs almost nothing and feels completely custom.
DIY Geometric Tape Art on Canvas for Contemporary Flair
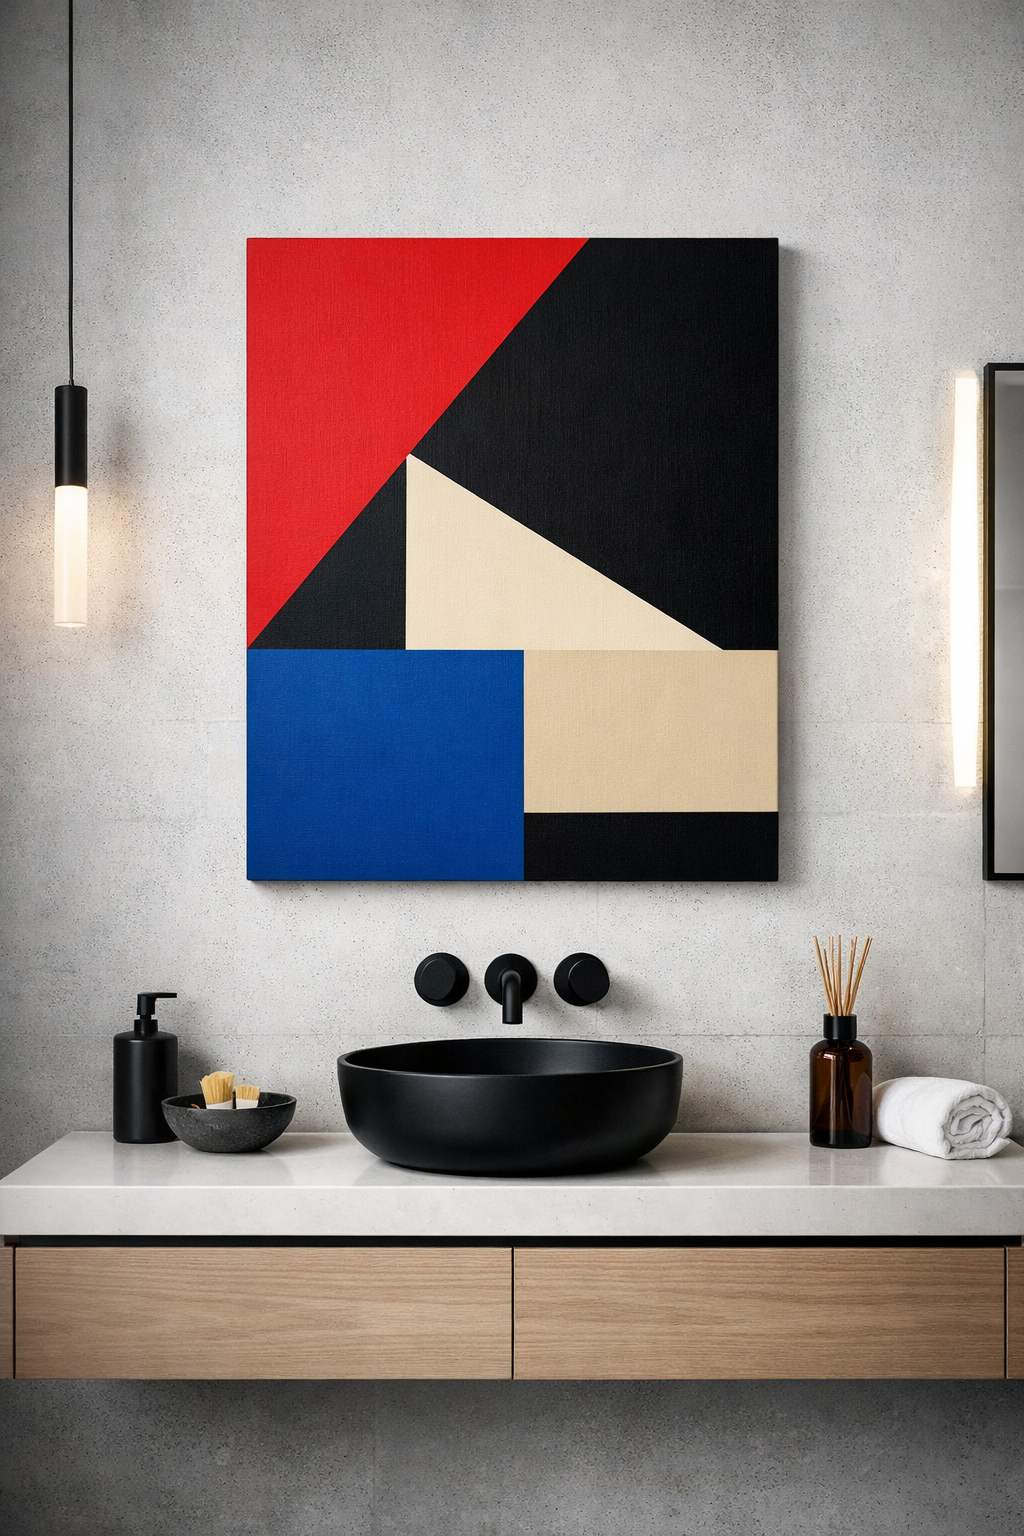
Start with a plain canvas from the dollar store and apply painter’s tape in intersecting lines to form triangles, arches, or overlapping circles. Brush on two or three budget acrylic colors in muted tones, peel away the tape while the paint is still slightly tacky, and finish with a coat of glossy Mod Podge. The clean lines and subtle color blocks give a modern gallery vibe without any artistic skill required. A single large canvas above a floating vanity makes a small bathroom feel more spacious and intentional. Larger bathrooms welcome two or three canvases hung in a horizontal line that echoes the straight edges of tile and mirrors. The bold yet simple design pairs beautifully with matte black or brushed metal fixtures.
DIY Vintage Postcard Collage for Timeless Charm
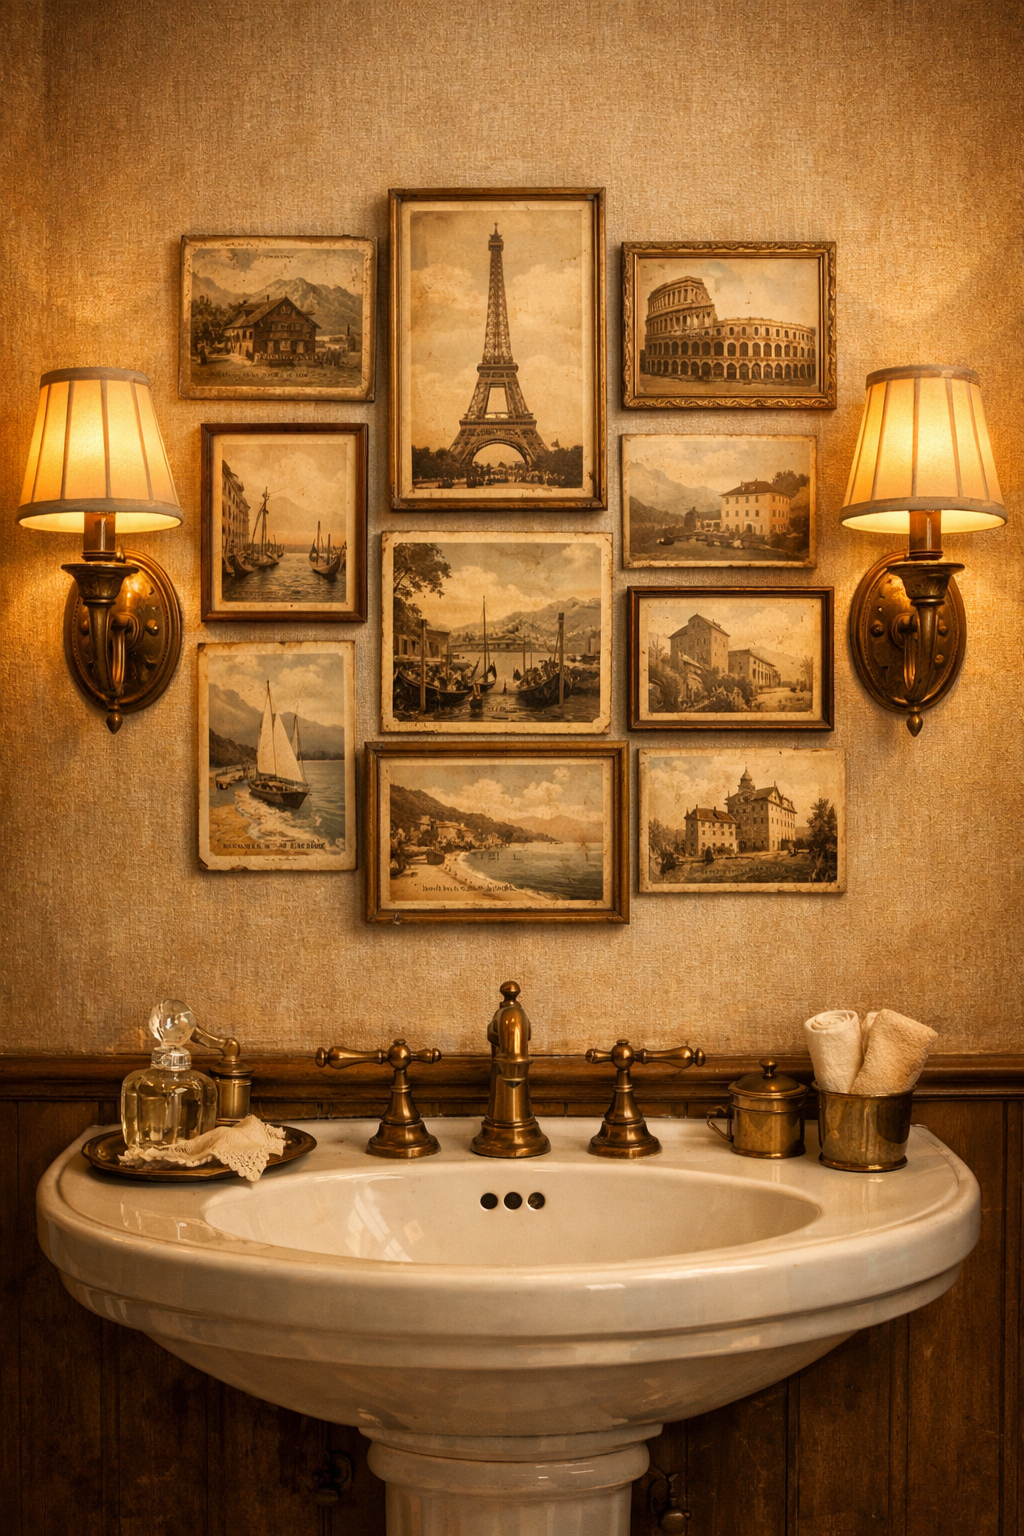
Collect old postcards, maps, or free printable travel images from the internet and trim them to fit a thrifted frame. Arrange overlapping pieces on a cardboard backing, glue them down, and seal the entire surface with two layers of matte Mod Podge to protect against steam. The faded colors and nostalgic scenes add warmth and personality that feels collected over time rather than mass-produced. In a narrow powder room, one vertical collage fits perfectly between the mirror and door. Spacious bathrooms can display a set of four smaller collages arranged like a gallery wall above the tub, creating a relaxed, worldly atmosphere. Aged brass accents and warm lighting complete the vintage designer effect.
DIY Seashell Shadow Boxes for a Coastal Escape
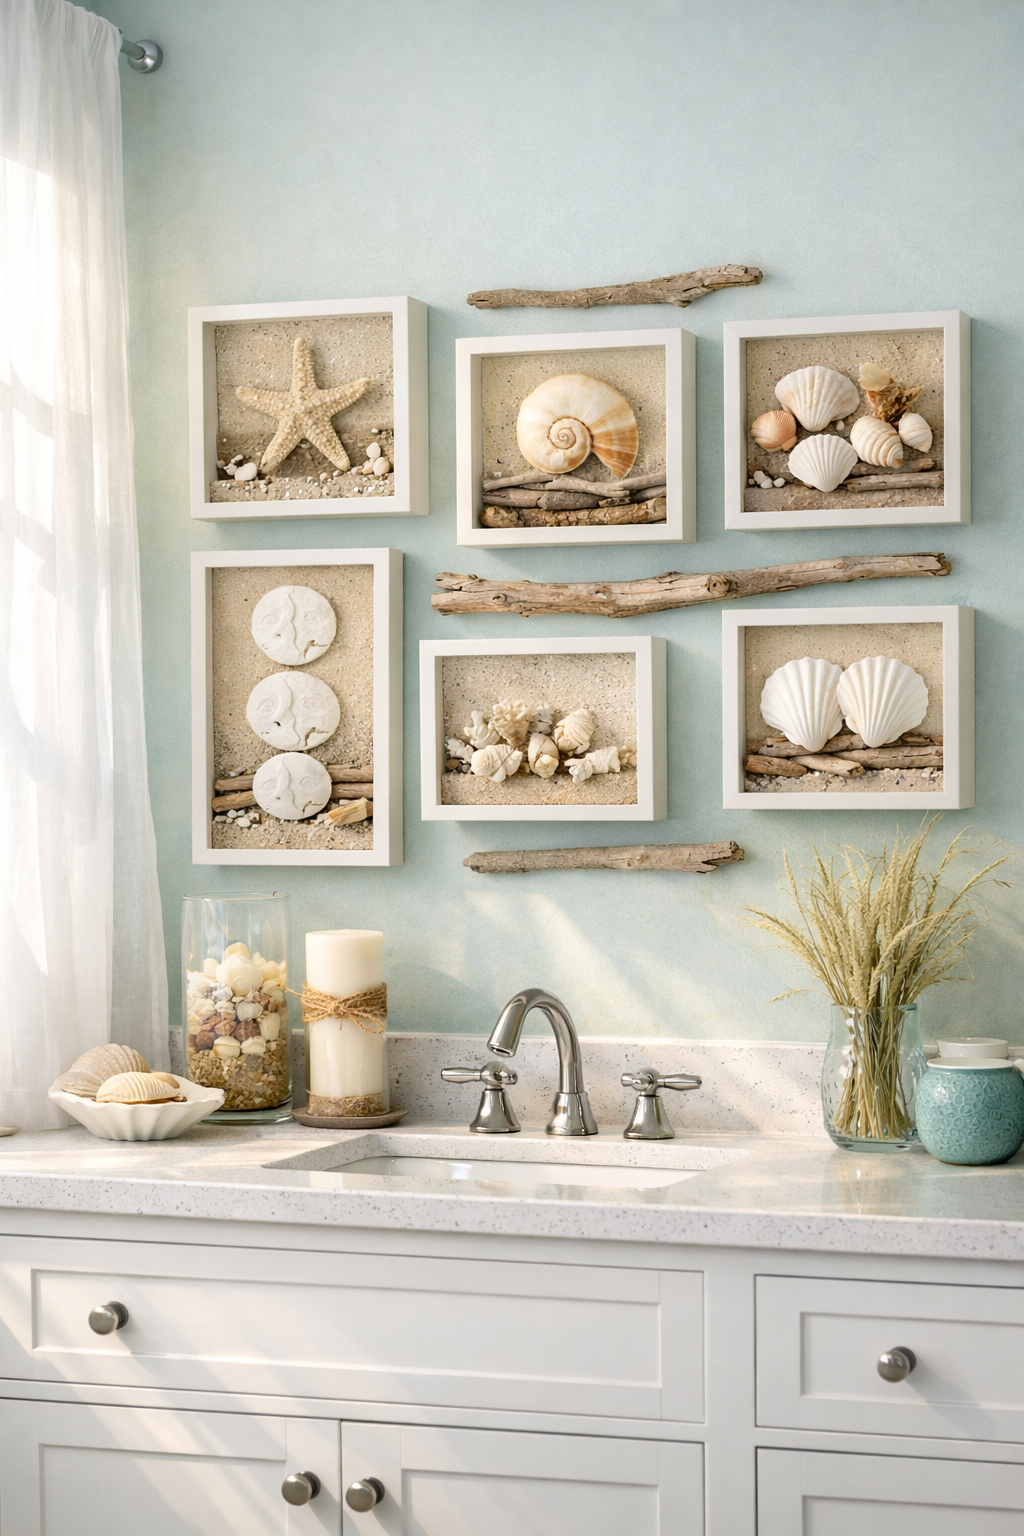
Fill shallow dollar-store shadow boxes with sand, small shells, and bits of driftwood collected from a beach or purchased cheaply. Arrange the natural elements in gentle patterns, glue them securely, and add a light coat of clear sealant. The layered depth and soft neutrals evoke a peaceful shoreline that soothes the senses. A single shadow box hung horizontally above the sink elongates a small bathroom visually. In bigger spaces, a trio of boxes in varying sizes creates a focal point along an empty wall. The texture and natural materials make the room feel like a private beach house even on the coldest mornings.
DIY Monochrome Photo Transfers for Elegant Simplicity
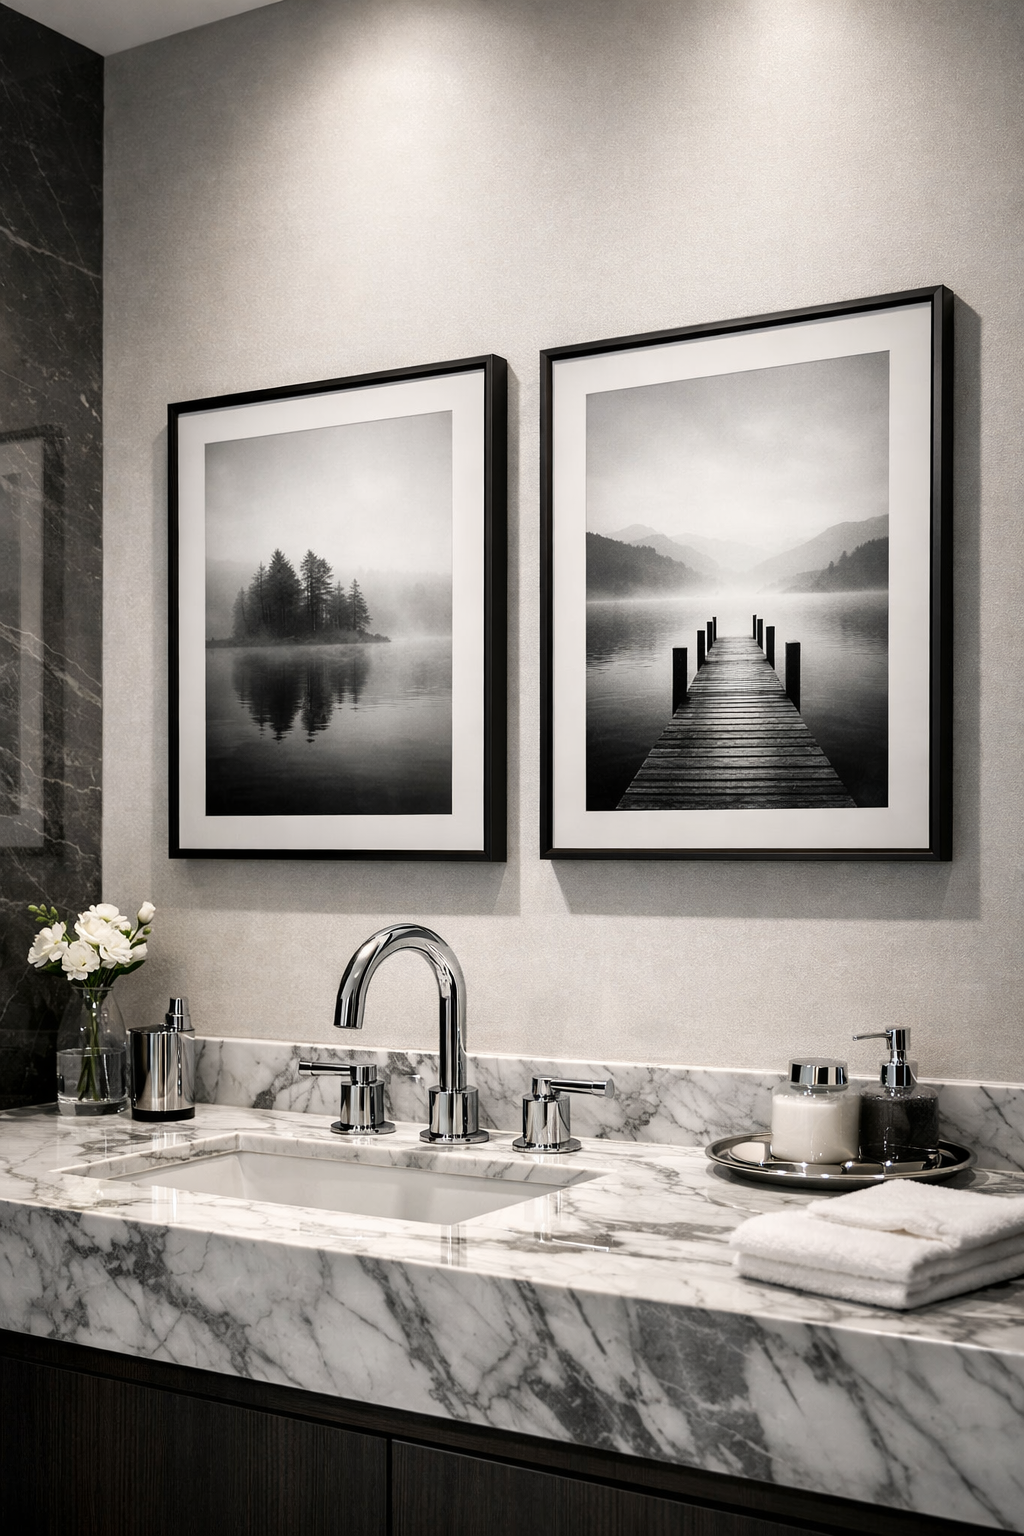
Print black-and-white photos or simple silhouettes on regular printer paper, apply them face-down onto wooden plaques with Mod Podge, let them dry, then gently rub away the paper to reveal the transferred image. Seal with another layer of the same product for humidity protection. The subtle contrast and clean lines add quiet sophistication that never goes out of style. Tall narrow transfers hung vertically in a petite bathroom emphasize height and light. Larger bathrooms benefit from a horizontal row of three pieces above a double vanity, creating a serene gallery effect. The understated elegance lets your tile and fixtures remain the stars while the art adds quiet depth.
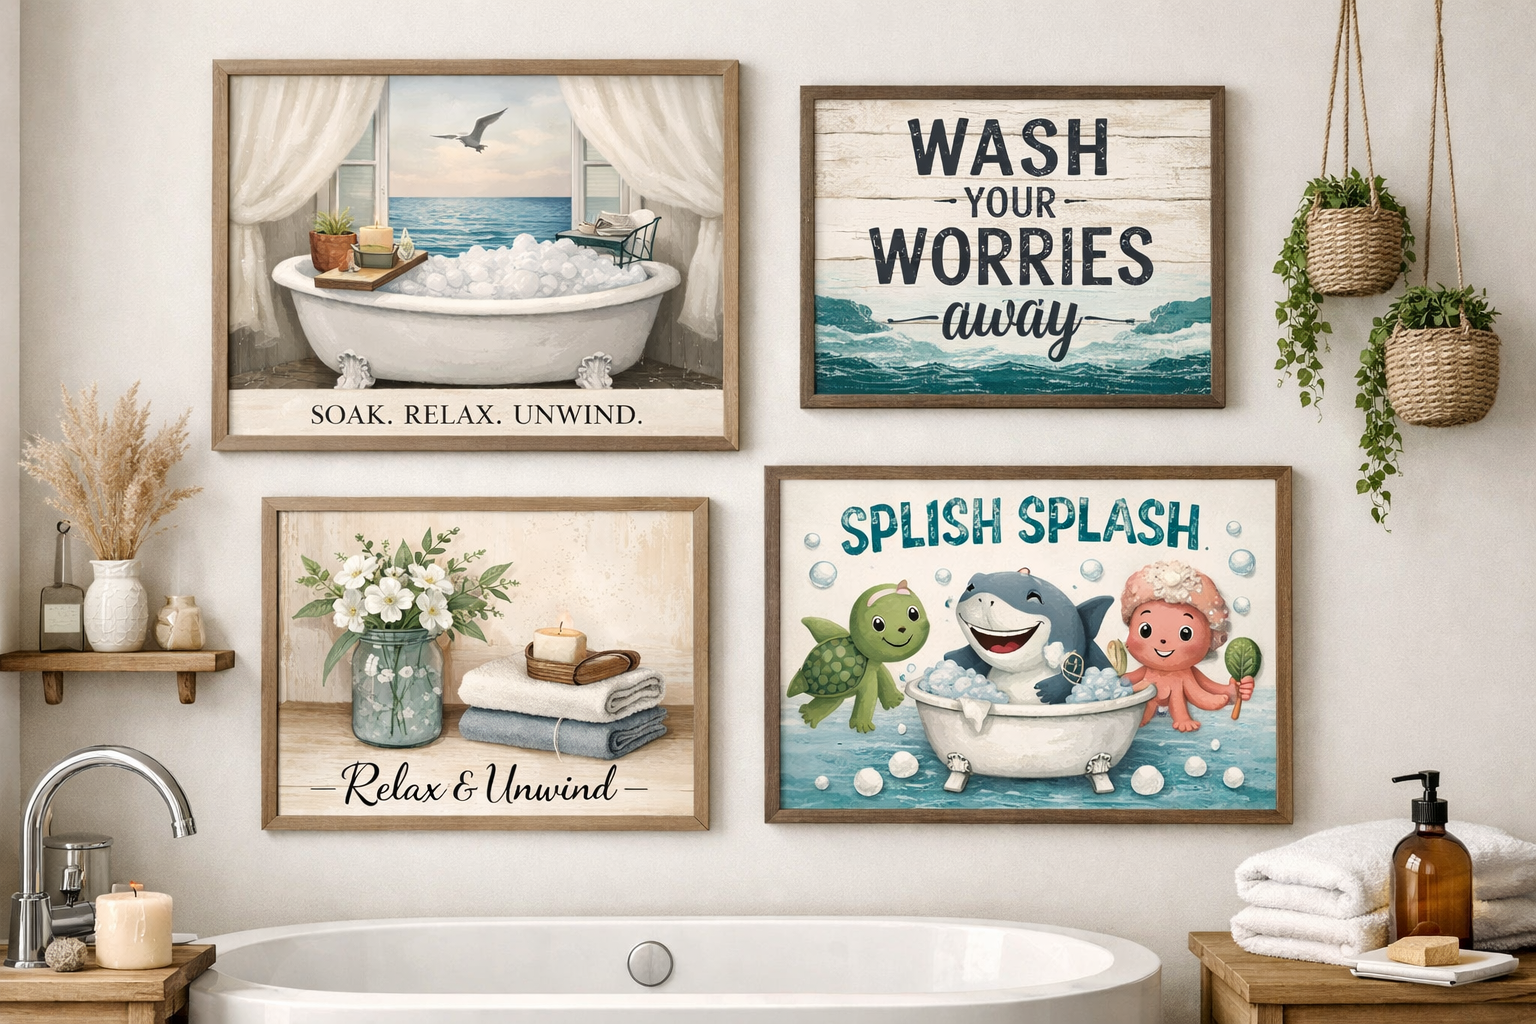
DIY Hand-Painted Quote Signs for Artistic Inspiration
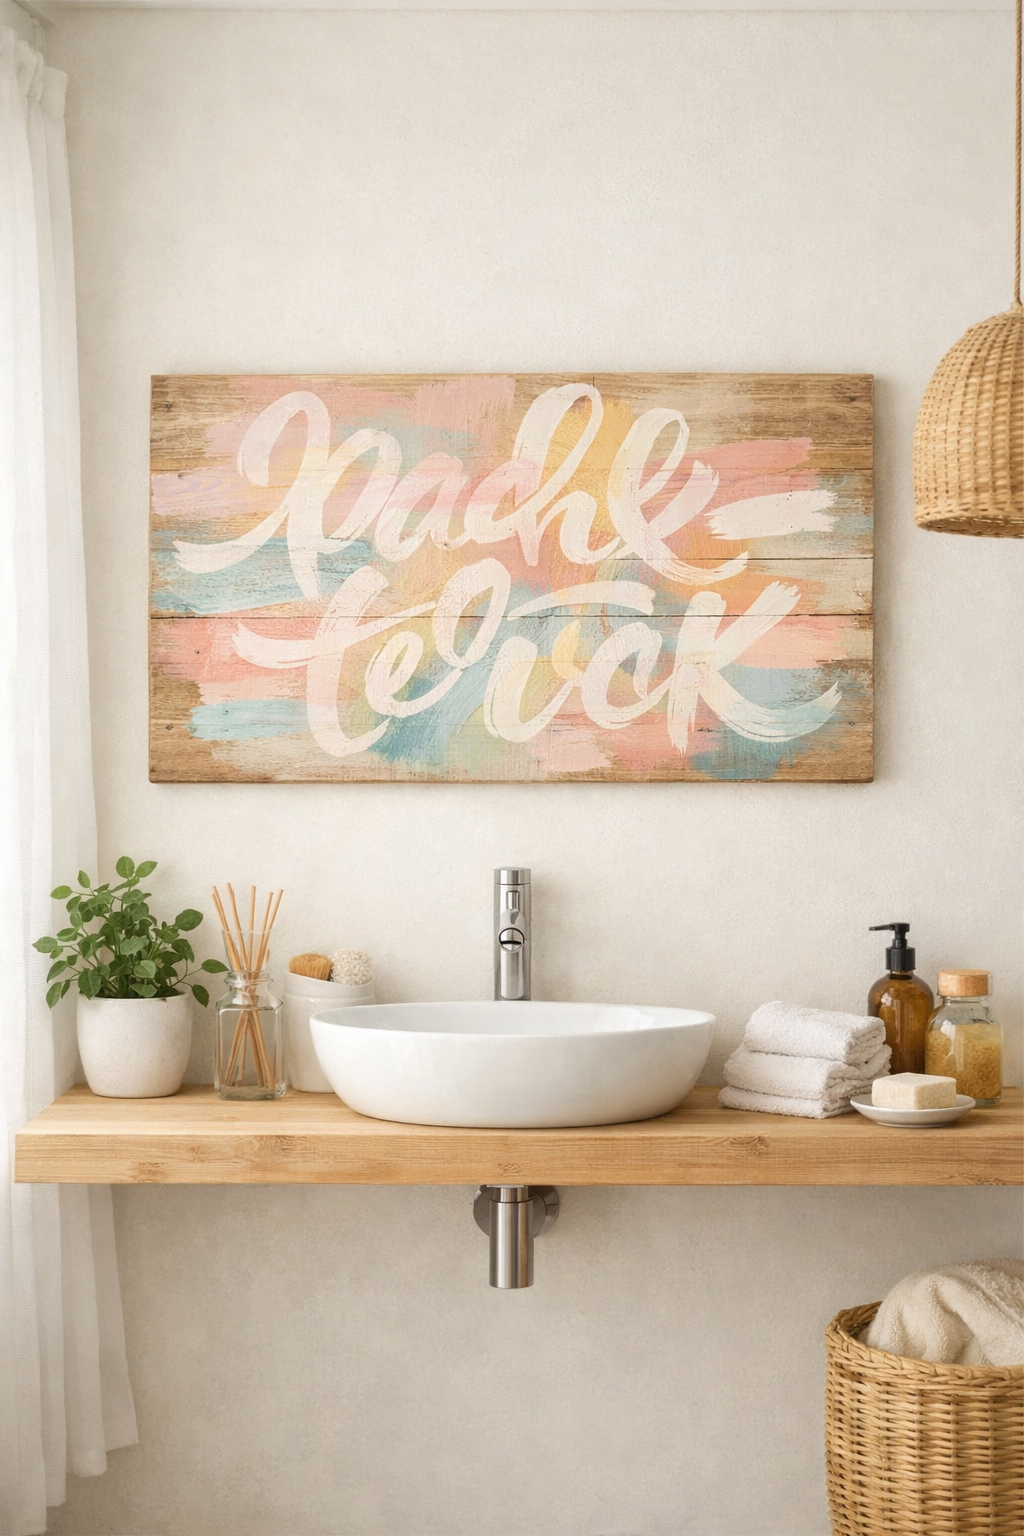 Use a dollar-store wooden plaque or canvas and paint a short uplifting phrase in elegant script with inexpensive acrylics and a fine brush. Add faint watercolor washes around the edges for softness, then seal thoroughly. The personal message turns an ordinary wall into a daily reminder of calm and renewal. In small bathrooms, one slim horizontal sign above the mirror delivers impact without taking space. Generous rooms allow a collection of three coordinating signs arranged in an asymmetrical pattern along a long wall. The handmade quality feels far more expensive than the few dollars invested.
DIY Foil and Bead Wall Sculptures for Dimensional Interest
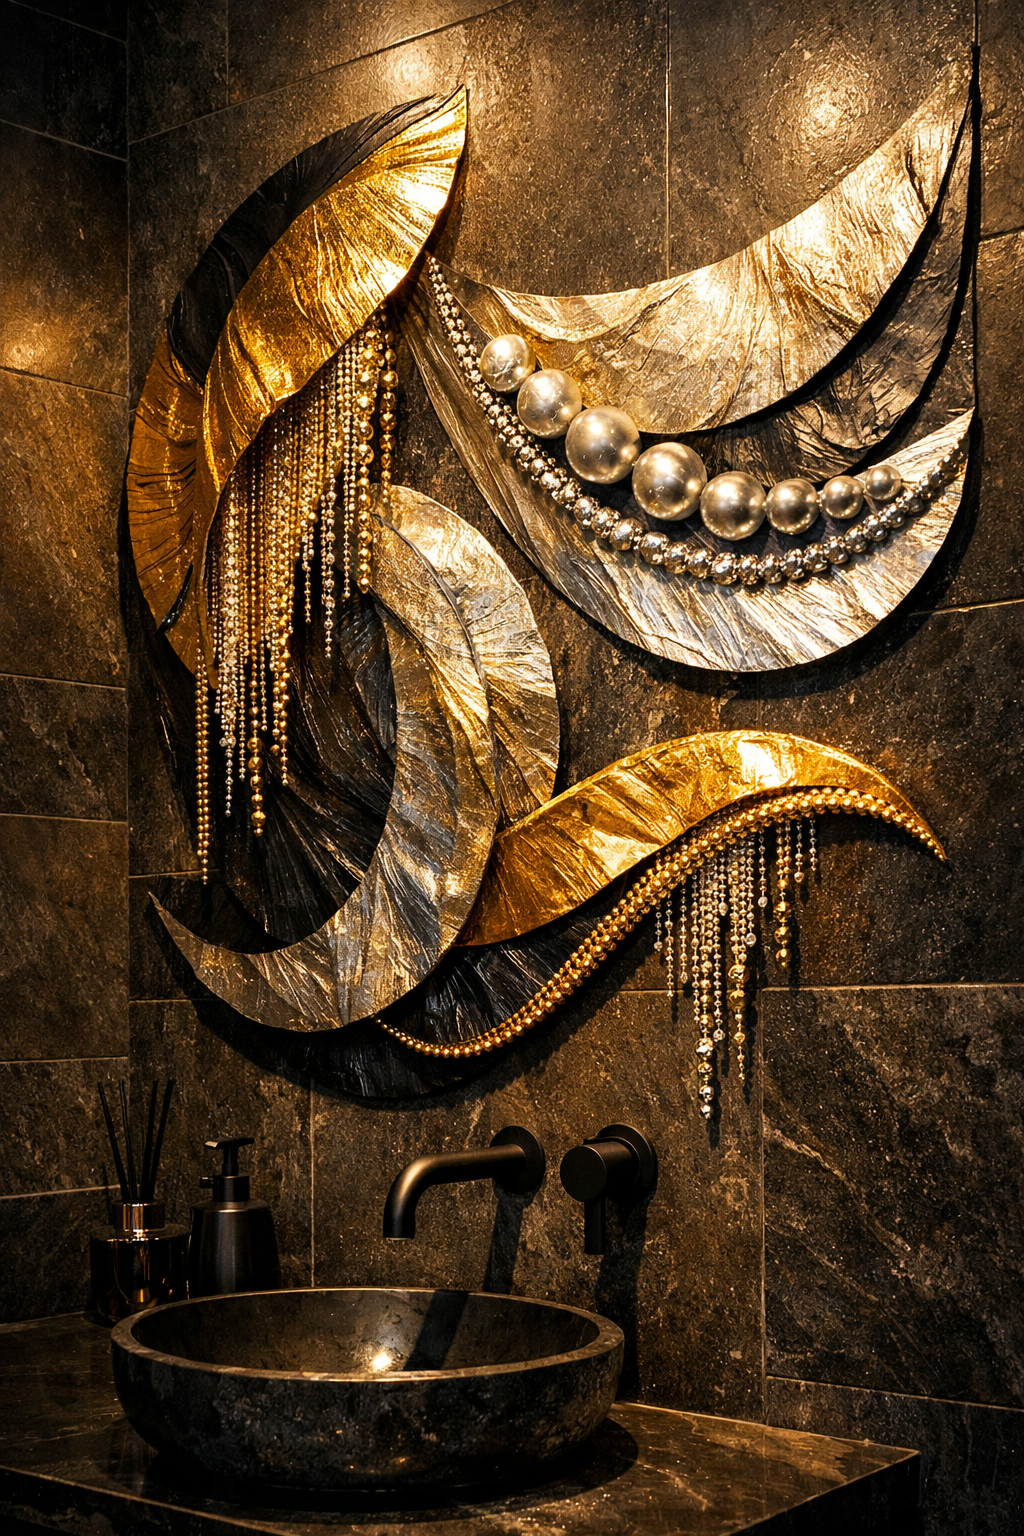 Crumple and smooth heavy aluminum foil into organic shapes, glue small beads or buttons from the dollar store onto the surface for texture, then mount the pieces onto painted cardboard backing. The metallic sheen catches light and creates ever-changing shadows throughout the day. A single sculptural cluster centered above the vanity becomes the jewelry of a compact bathroom. Larger spaces can feature multiple foil elements spaced along a wall for an organic, high-end gallery look. The three-dimensional quality adds depth that flat prints simply cannot match.
DIY Tissue Paper Stained Glass for Colorful Light Play
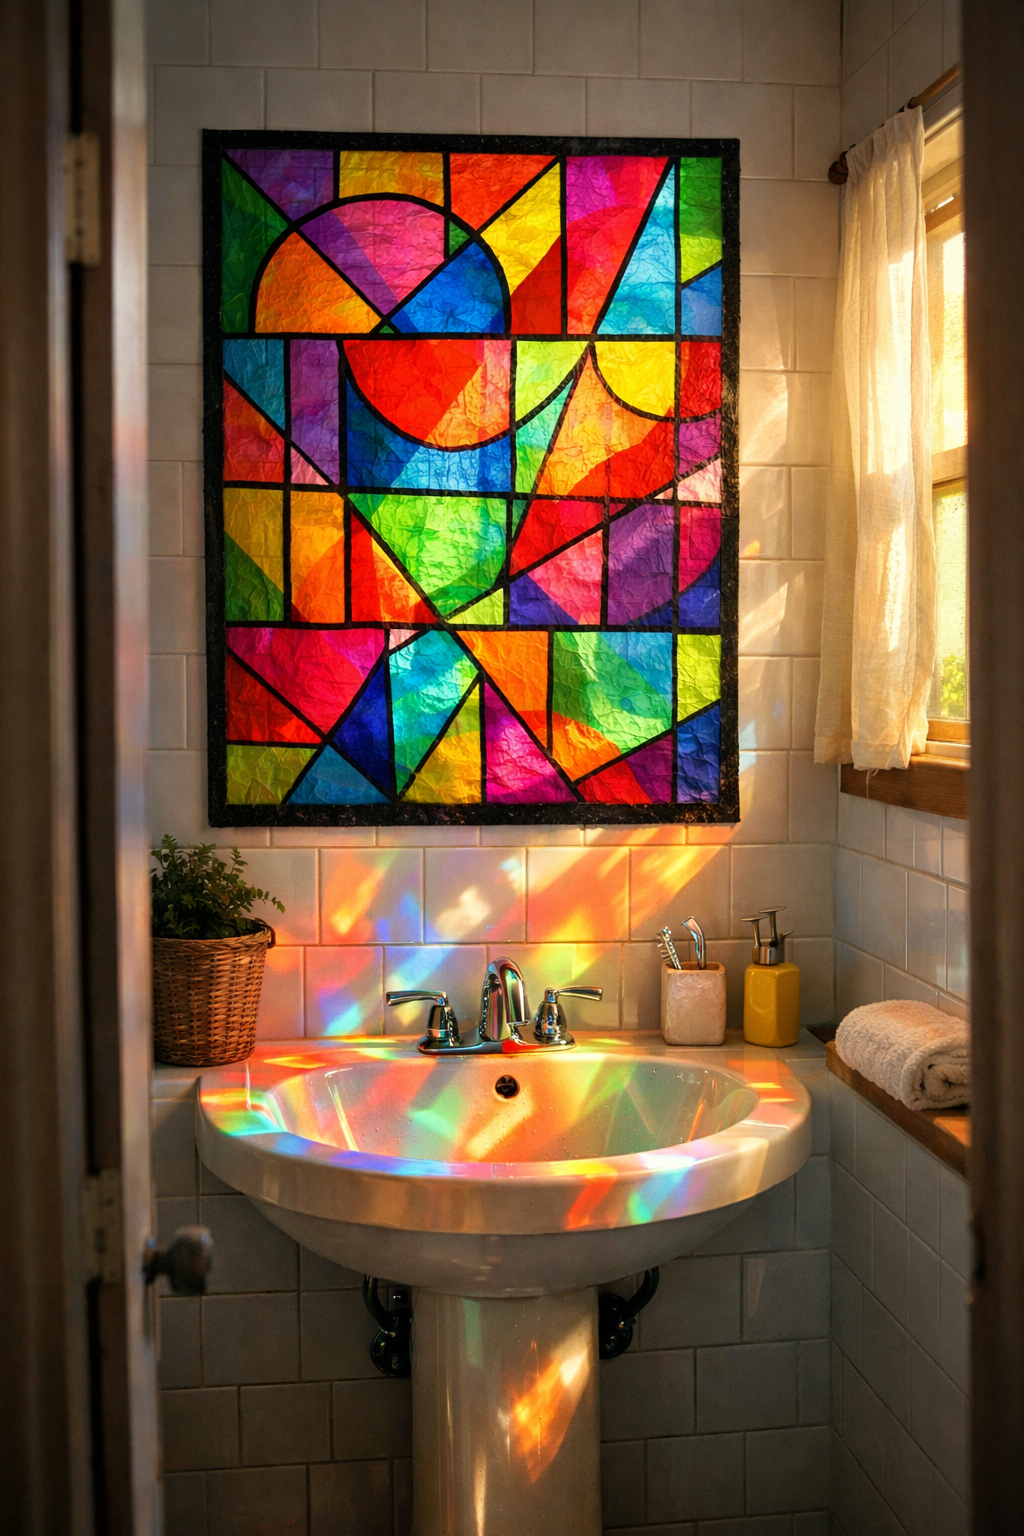 Cut colored tissue paper into abstract shapes and layer them between two sheets of clear contact paper. Trim to fit a dollar-store frame and hang near a light source so the colors glow and cast soft patterns across the room. The jewel tones and diffused light create a magical atmosphere without any real glass or special tools. A narrow vertical panel beside the mirror brightens small bathrooms beautifully. In spacious rooms, a larger panel above the tub turns ordinary lighting into something special. The effect feels luxurious yet costs pennies and takes minutes to complete.
DIY Mosaic Art from Thrifted Materials for Textural Depth
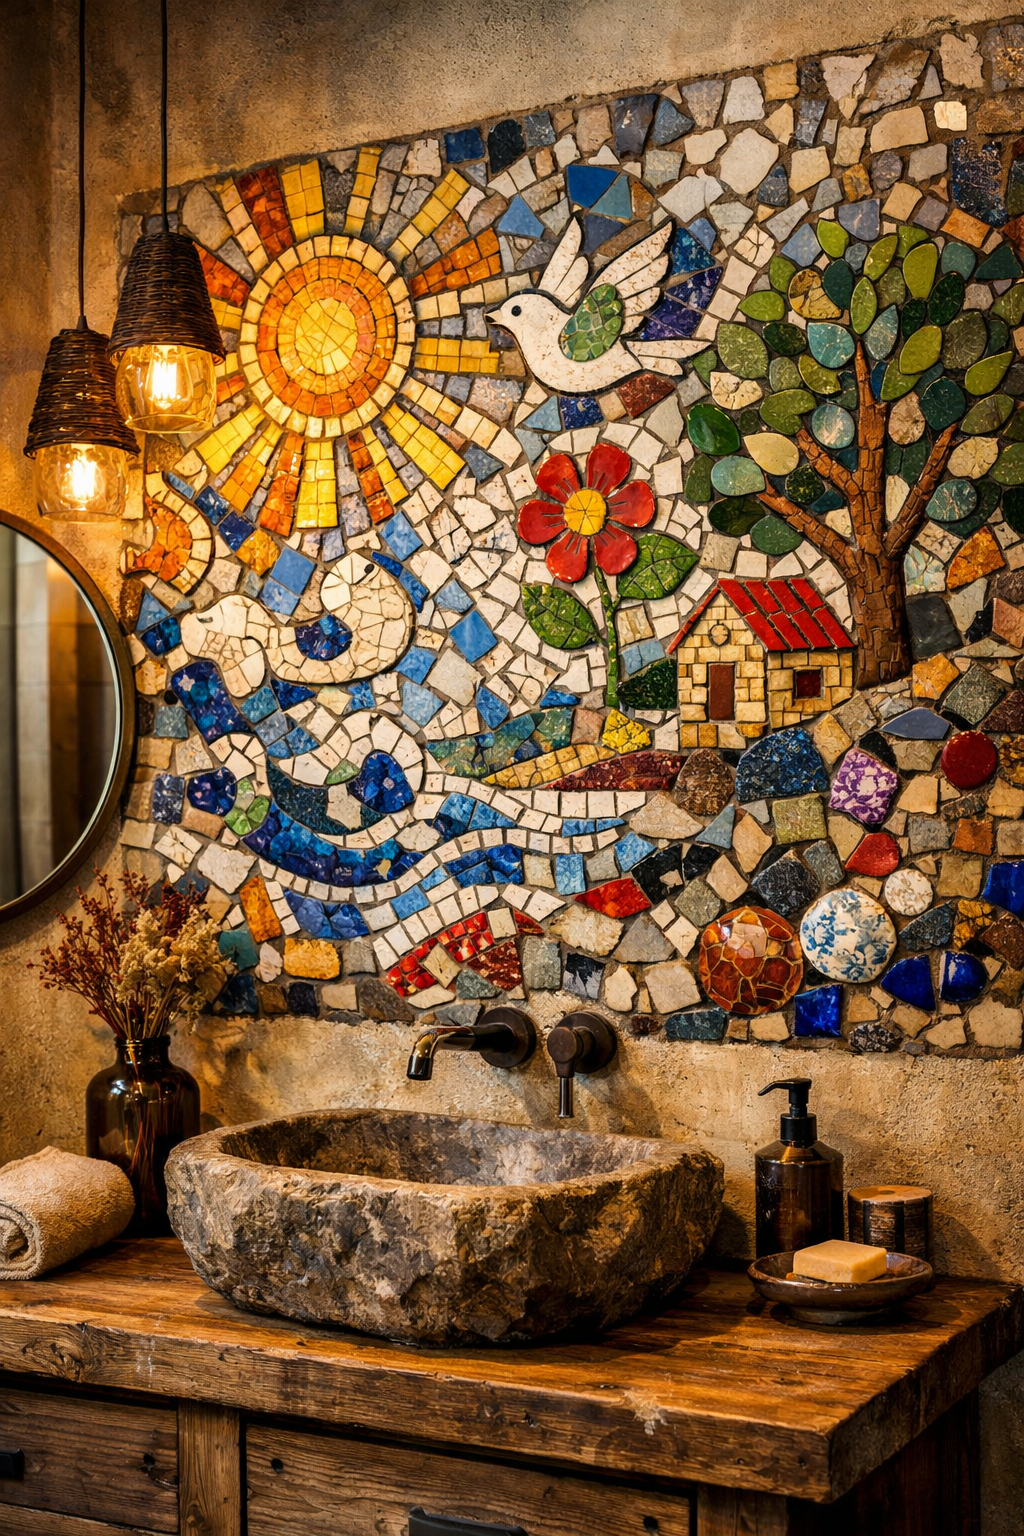
Break inexpensive thrift-store plates or dollar-store tiles into small pieces, arrange them into subtle patterns on a wooden board, and grout with a waterproof mix. The irregular shapes and varied colors give rich texture that looks like custom tile work. A compact mosaic panel placed like an extended backsplash above the sink adds interest to tiny bathrooms. Larger bathrooms can incorporate a wider mosaic that fills a recessed niche or wraps a corner. Because the materials are already water-friendly, these pieces handle daily use with ease and look far more expensive than their humble origins.
DIY Silhouette Landscape Paintings for an Expansive Feel
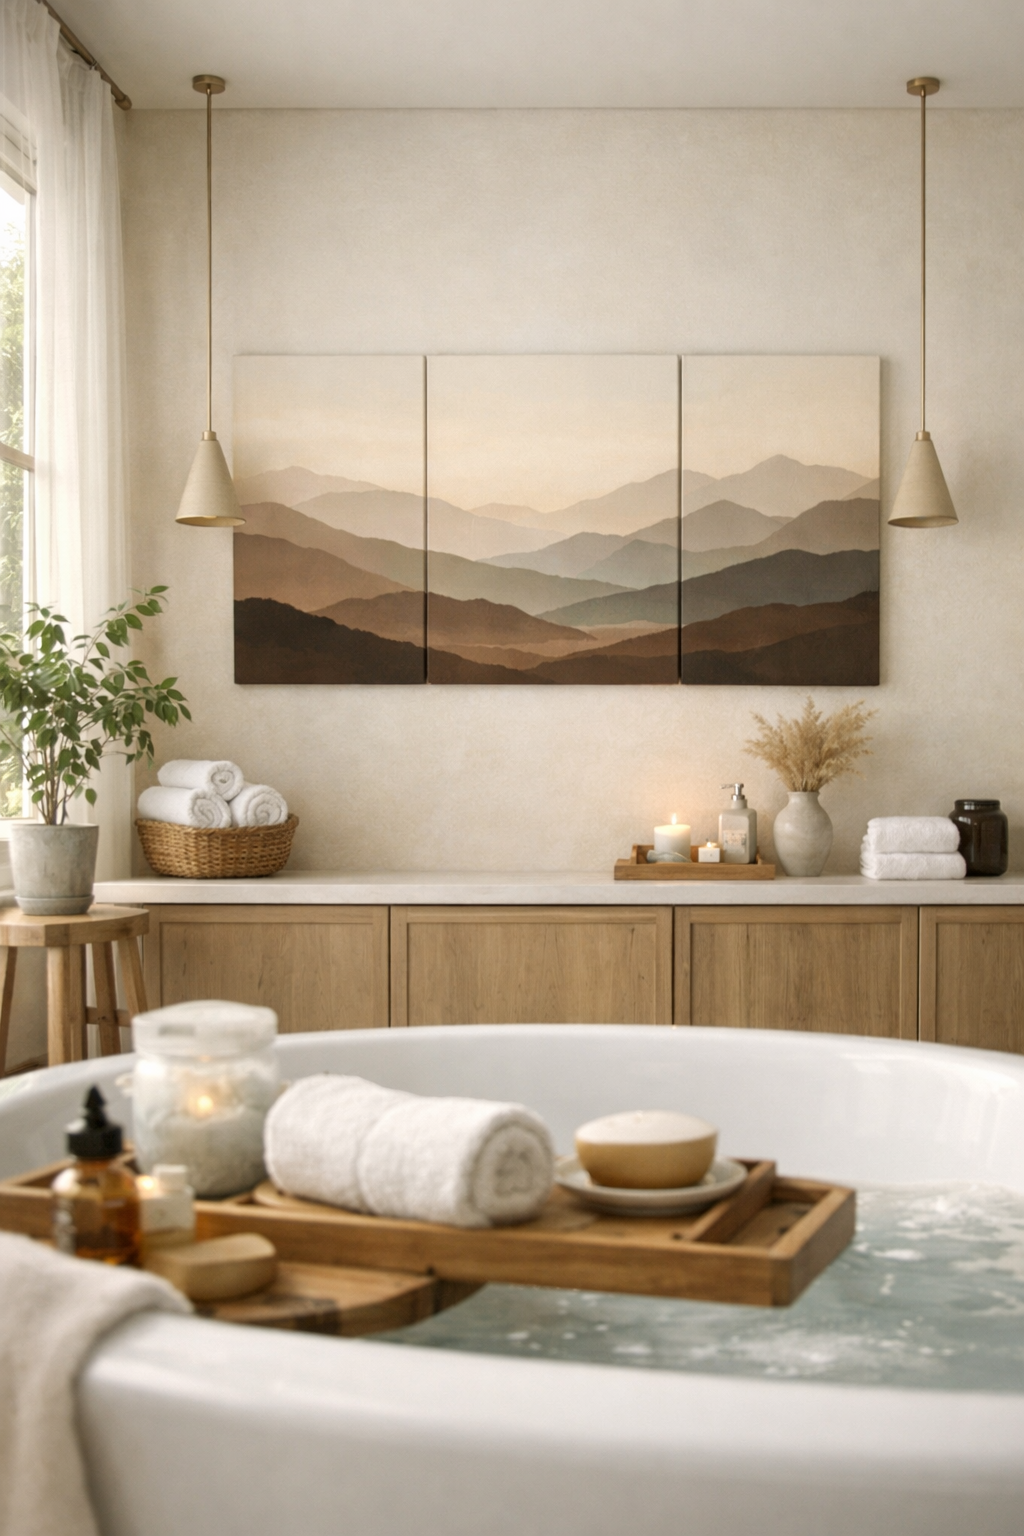
Paint simple black or dark navy silhouettes of trees, mountains, or horizons onto plain canvases using household brushes and inexpensive craft paint. The minimal approach creates a window-like view that opens up any wall. In tight spaces, a single wide canvas above the door tricks the eye into seeing more room. Spacious bathrooms welcome a set of three panels arranged side by side above the tub for an immersive landscape effect. The clean lines and depth make the entire space feel calmer and more luxurious.
DIY Decorative Mirror Makeovers for Functional Art
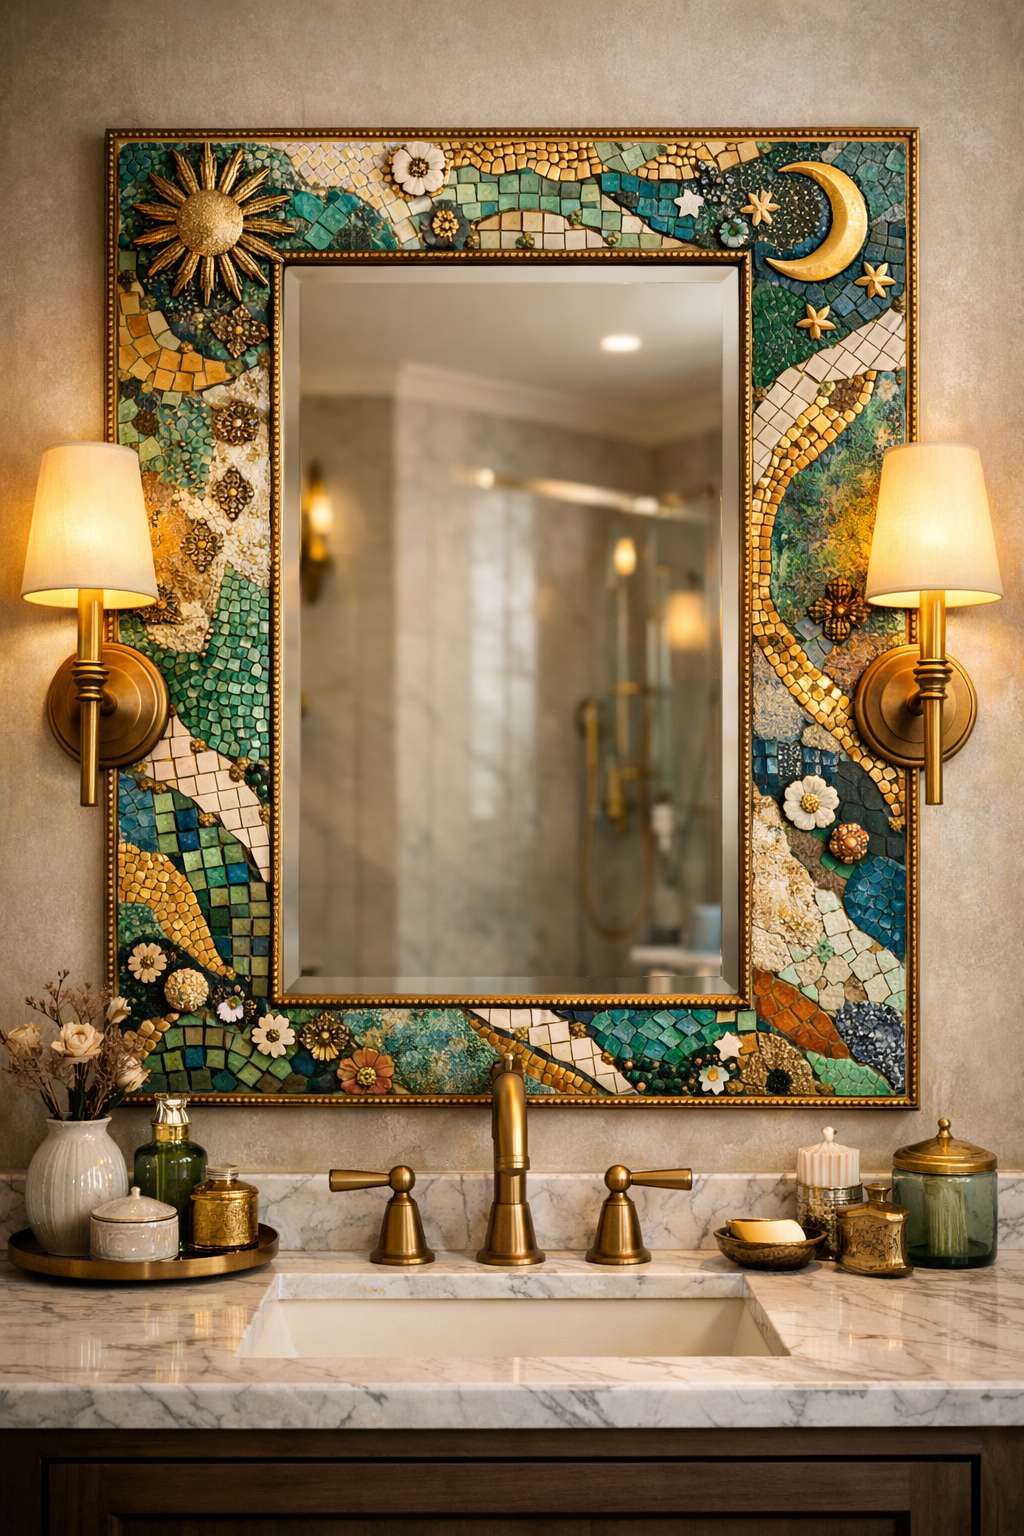
Take a plain dollar-store mirror and surround it with glued-on elements such as painted beads, rope, or fabric scraps arranged in sunburst or scalloped patterns. The frame becomes the artwork while the mirror still serves its practical purpose. An oversized makeover mirror in a small bathroom reflects light and doubles the perceived size of the room. Larger bathrooms can feature a collection of smaller framed mirrors grouped creatively above a long counter. The dual function solves both style and utility needs in one clever, budget-friendly project.
DIY Personalized Watercolor Monogram Art for a Unique Touch
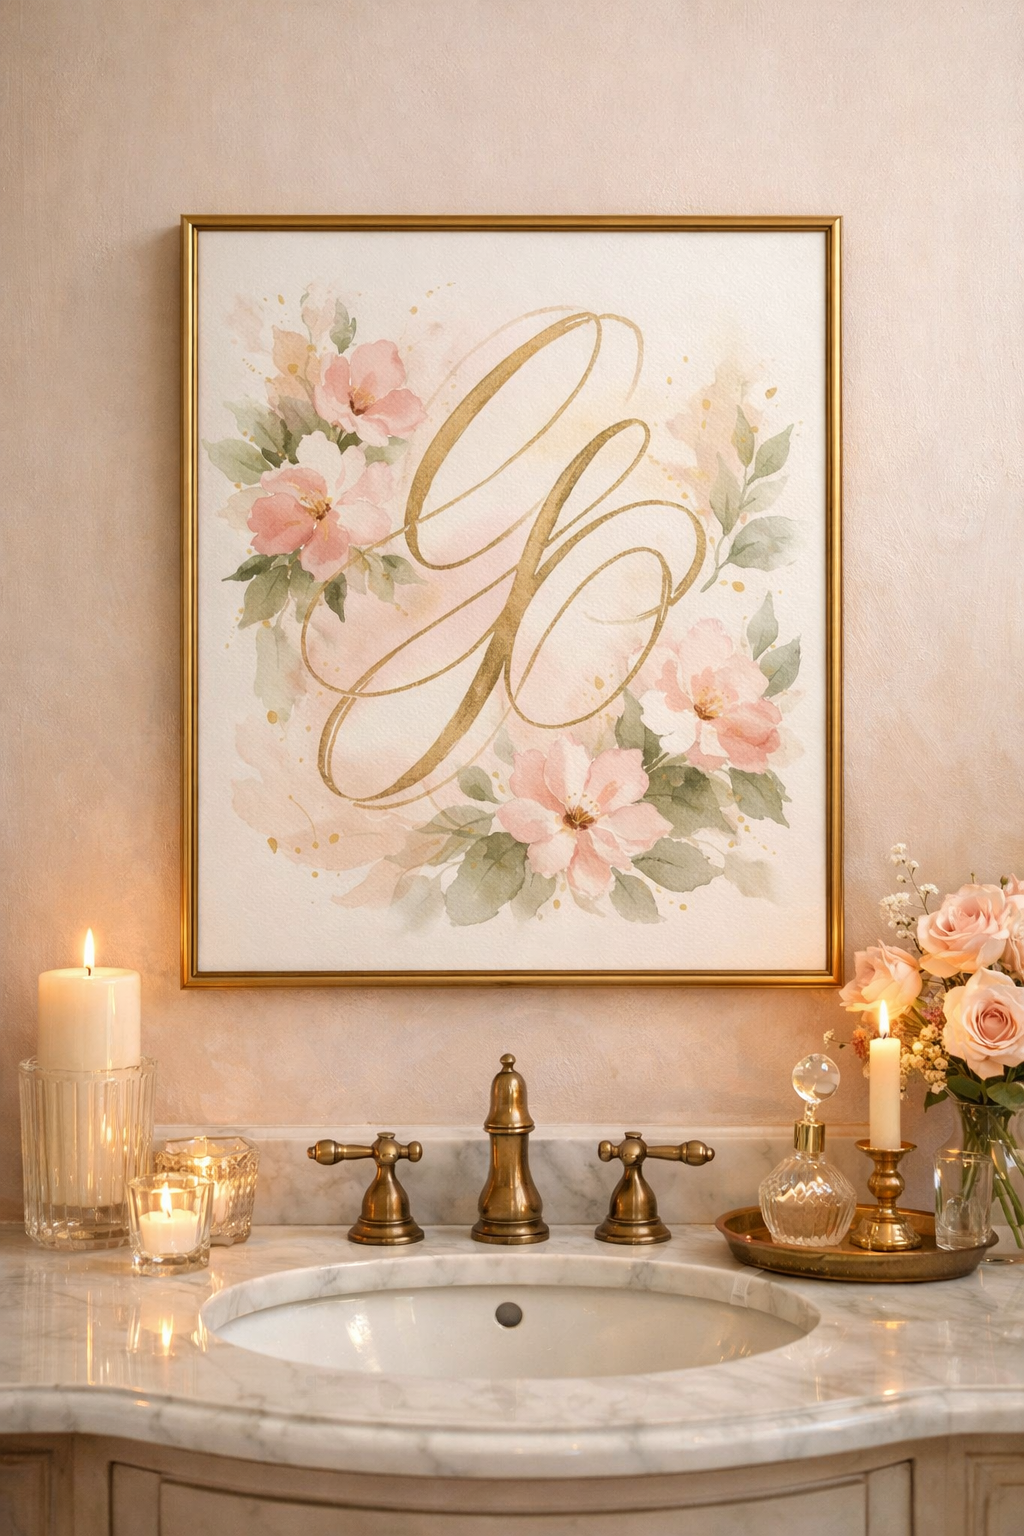
Paint loose watercolor washes on cheap watercolor paper using dollar-store supplies, then add your initials or a simple symbol with a fine marker. Frame in a slim thrifted border and seal with spray varnish. The soft colors and personal element make the art feel truly one-of-a-kind. A single small piece keeps petite bathrooms light and uncluttered. Larger rooms can display a series of matching watercolors that tell a gentle visual story across the wall. The handmade warmth adds authenticity that store-bought prints cannot replicate.
Simple Installation and Care Tips for Your DIY Creations
Use removable picture strips or lightweight hooks rated for bathroom humidity to avoid damaging walls. Keep pieces at least a few inches away from direct water sources and wipe gently with a dry cloth when needed. A quick touch-up coat of sealant every year or two keeps colors bright and surfaces protected. Rotating your pieces seasonally prevents any single area from prolonged exposure and lets you enjoy fresh arrangements without extra cost.
Frequently Asked Questions About DIY Bathroom Wall Art Ideas
What everyday materials hold up best in a humid bathroom?
Acrylic paint, Mod Podge, clear contact paper, and sealed wood or canvas work reliably. Always finish projects with at least two coats of waterproof sealant for long-lasting protection.
How can I make DIY bathroom wall art ideas last without warping or fading?
Apply sealant to both the front and back of each piece, use frames with glass when possible, and avoid hanging art directly above or beside the shower.
Are these projects suitable for renters who cannot drill into walls?
Yes—command strips, over-the-door hangers, and tension rods allow secure display without holes. Most of these lightweight DIY pieces work perfectly with removable hardware.
How do I match DIY bathroom wall art ideas to my existing tile colors?
Pull one or two shades from your tile or vanity and repeat them in your paint or paper choices. Neutral bases with small accent colors blend easily and look intentional.
Can I create a coordinated gallery wall on a budget in a large bathroom?
Absolutely—stick to one color family or similar frame styles and keep spacing consistent. Start with the largest piece at eye level and build outward for a polished look.
What is the best height for hanging DIY bathroom wall art?
Center the middle of each piece at about 60 to 65 inches from the floor so it feels natural when viewed while standing at the sink or from the doorway.
How often should I refresh or reseal my DIY bathroom wall art?
Inspect pieces every six months for any condensation and apply a fresh coat of sealant once a year. Simple maintenance keeps them looking new for many years.
Conclusion
Creating your own DIY bathroom wall art ideas on a budget proves that stunning style does not require a big spending budget. Each of these twelve projects turns inexpensive supplies into designer-looking statements that reflect your personality and withstand daily bathroom conditions. Whether you choose pressed botanicals for calm or geometric tape art for modern energy, the right handmade pieces will make every visit to the bathroom feel like a small luxury. Measure your walls, gather a few dollar-store basics, and let your creativity turn plain surfaces into a space you genuinely love. Your perfect designer bathroom is closer—and far more affordable—than you ever imagined.